

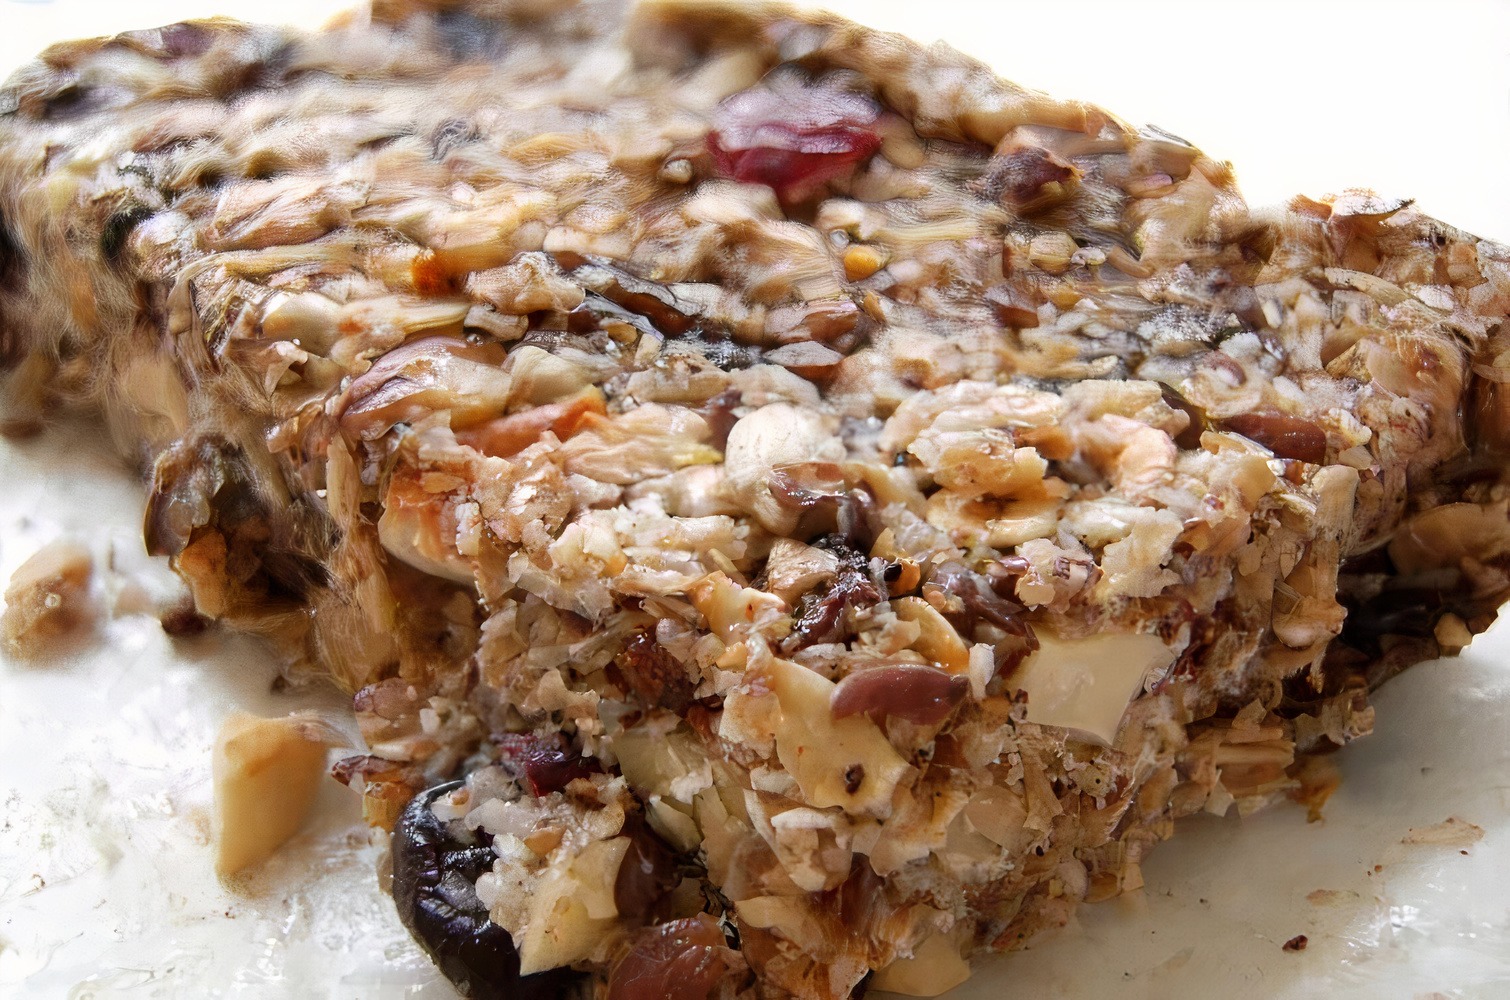

Healthy Muesli Bars
It’s time to ditch ‘convenient’ store-bought granola/muesli bars loaded with sugar, empty calories and preservatives from your meal plan. Instead, replace them with homemade healthy muesli bars that fuel your body with great macro and micronutrients (vitamins and minerals). Plus, these healthy snack bars are so quick and easy to prepare, you will never need (or want) to buy them again! There's no baking required, you can create them with basic pantry ingredients and they are a guaranteed lunchbox favourite!Packed full of chewy fruit, nuts and crunchy seeds, these delicious homemade muesli bars make a healthy breakfast on the run or anytime snack that everyone will love! Try this simple recipe for chewy, homemade muesli bars that are cheaper, tastier and much healthier than store-bought. An excellent way to clear out random leftover nuts and dried fruit from your pantry too.Best part? You can easily switch up most of the ingredients to suit your dietary needs, preferences or liking. Just stick to the recipe ratio of wet ingredient (the glue) to dry (4 1/2 cups total).This is an absolutely yummy homemade energy bar recipe loaded with nutritious goodies to keep you full and energized throughout the day.
Ingredients
Dry Ingredients
- 1 cup rolled oats,
- 1 cup crispy cereal - rice Krispies, rice bubbles, puffed quinoa, brown rice puffs
- 1 cup nuts, any mix you like, chopped - almonds, walnuts, pecans, cashews
- 1 cup dried fruit any mix you like, chopped - dates, currants, apricots, cranberries, sultanas, pineapple
- 1/2 cup seeds, any mix - sesame, sunflower, hemp, pumpkin, chia
- 1/2 cup desiccated coconut
Wet Ingredients (the glue!)
- 1/2 cup coconut oil
- 1/2 cup peanut (or any nut butter)
- 1/2 cup honey or maple syrup
Instructions
- Line a 8 x 10-12" slice tin with parchment paper on the bottom and sides leaving some overhanging to act as a handle to get the bars out easier for cutting.It does not matter what size the pan is, but around ¾” in thickness is a good bar size to aim for.Melt and mix glue (the wet ingredients) – Place coconut oil, peanut butter and honey into a large saucepan over low heat and gently melt and mix to combine. The large saucepan is going to be our mixing bowl so we don’t have another bowl to wash (always a good thing!)Once melted and well combined simply add all of your dry ingredient into the saucepan and mix well. You want all of the ingredients well coated in the “glue” mixture so the bar holds together. Use a wooden spoon and although it does take a bit of effort. it will all come together eventually.Scoop out mixture into lined pan and press it into the pan using a combination of the wooden spatula to spread it out, then hands to gently press it down. Don’t press it in too hard as it will make the bars tough, chewy and difficult to eat.If you are using chocolate chips make sure the mixture has slightly cooled, press the choc chips gently into the top (they will melt otherwise!).Place the slice into the fridge or freezer for at least an hour to set before slicing. Slice into pieces of desired size (this recipe makes around 10-16 bars or squares depending on how big or small you prefer).Store in the fridge for up to 7 days, or store in an airtight container in the freezer for up to 3 months. Separate any layers with baking paper.For lunchbox prep, make a double or triple batch and keep them in the freezer, ready to grab-and-go for the school term ahead. They will thaw in lunchboxes by snack time!This recipe is versatile, so you can easily mix and match your favourite dried fruits, flavours, seeds or chocolate. Just swap them for equal quantities of the existing recipe.ADD-IN IDEASKeep the recipe as is, or try adding some of the following flavours;Chocolate chips. These are optional, but can be sprinkled over the top and pressed into the slice at the end.Cinnamon. Add ½ teaspoon or to taste for a lovely warm flavour.Vanilla. 1 teaspoon added to the honey mixture adds extra flavour.Linseed meal. Add up to ¼ cup into the seed mixture.Cacao nibs can be sprinkled over the top at the end.Freeze-dried fruits. Include these in the quantities of dried fruit.Salt – Just a touch brings out the flavours in this.Chocolate drizzle – You will only need a small quantity of chocolate drizzle.Note: Its difficult to melt small quantities of chocolate in a bowl in the microwave (often seizes). The easiest way is to pop about 1/4 cup of chocolate chips in a small zip-lock bag. Seal, microwave for 10 seconds at a time (massage to “mix) until melted. Snip corner, drizzle across muesli bars.So, what do you think? Is this a good weekend to rummage through your pantry to round up all those leftovers nuts and dried fruit from other recipes to make homemade muesli bars?
If you are looking for more delicious, healthy, no bake desserts and treats to help you reach your health, wellness and fitness goals, you will love my collection here: Blended Bites