

Sweetened condensed milk… oh the memories! As a kid, I used to eat it by the spoonful, straight out of the can. I loved its dreamy creaminess – just like rice pudding, but without the rice. Heavenly indulgence.
Back then, I did not realise how much sugar it contains!
Hard to believe….but….
Manufacturers take out about 60% of the water from the milk to “condense” it down. After they “condense” the milk, they add about 40% sugar to fill the void from the water. I’m sure you’re asking yourself why the manufacturers do this.
They add tons of sugar to the condensed milk as it gives a longer shelf life, plus transporting the milk is easier due to not having to store it in cooler temperatures.
Its always about the convenience to them, rather than people’s health.
Regular condensed milk is not health friendly at all.
The nutritional profile of a tablespoon of regular condensed milk contains 10g carbs, all of which are sugars. Standard canned condensed milk contains 90 calories, 15 carbs, and 15 grams of sugar PER SERVING.
But did you know you can make your own unsweetened condensed milk –and it’s a way more healthier product. If you make it yourself from canned coconut cream it has under 1g net carbs and NO added sugar.
It’s a win-win for all of your baking needs!
Understanding the difference between coconut milk and coconut cream
Coconut cream is the same thing as coconut milk – coconut meat blended with water – but it contains less water. The cream is a thicker product, made from blended more coconut meat and less water than coconut milk. While coconut milk is thin like cow’s milk, coconut cream is thick like heavy cream.
How we can use healthy condensed milk…
As far as pantry staples go, condensed milk is arguably the most magical. Not only is it rich, luxurious and delicious, but it’s also the key to making the most amazing homemade desserts, snacks and treats without breaking a sweat.
To produce condensed milk, either diary based, coconut or any other milk product, the process is very simple and involves gently simmering milk or cream to evaporate the water content, resulting in a thicker, creamier consistency with a concentrated flavor profile.
This reduction method is widely used in various cuisines to enhance both savory and sweet dishes. Condensed milk works wonders when making anything from fudge or ice cream to puddings, pies and cheesecakes. It can also be used for something as simple as a fruit dip or even as a sweetener for your coffee along with hundreds of savoury dishes.
I have the perfect recipe to make your own, that’s simple, affordable, and it’s low-carb! The possibilities are endless for all those desserts or treats calling for condensed milk, and your pursuit of deliciously sweet while staying sugar-free baking is about to become epic!
There are two ways to make a sugar free condensed milk recipe: with dairy cream or with coconut cream or milk.
If you are good with dairy, using heavy cream and perhaps even a little butter is certainly an option. All you need to add is sweetener and let it simmer until it is nice and thick.
However, I decided to make a dairy-free condensed milk and used full-fat coconut cream instead. I used no sweetener at all as coconut has its own sweetness but you can add it if you wish.
Coconut cream has a fat content of 24g per 100g as opposed to the punchy 47 grams per 100g in double (heavy) cream. This way, the recipe contains less fat. It is easier on the stomach and I think it also tastes better!
This healthy, sugar-free coconut condensed milk recipe can be swapped into any recipe that calls for sweetened condensed milk and will elevate any recipe!
Sugar Free Coconut Condensed Milk
It’s really simple! First, place one 13.5 oz can coconut cream or milk into a medium saucepan. Bring ingredients to a boil over medium heat stirring regularly. Reduce the stove to a very low heat and let the mixture simmer for about 30-45 minutes. Continue to stir in regular intervals and wait until the liquid has reduced by half.
If you want to check that this has occurred, tip contents into a Pyrex measuring jug and if it measures more than a cupful place back in saucepan and continue to simmer for longer to reduce it further.
Keep the heat low. If the cream or milk becomes too hot, it will burn. It’s important to stir regularly and stick to a low heat. As the volume of the cream reduces, its colour can change and even take on a slightly greyish colour but don’t worry it will still taste amazing.
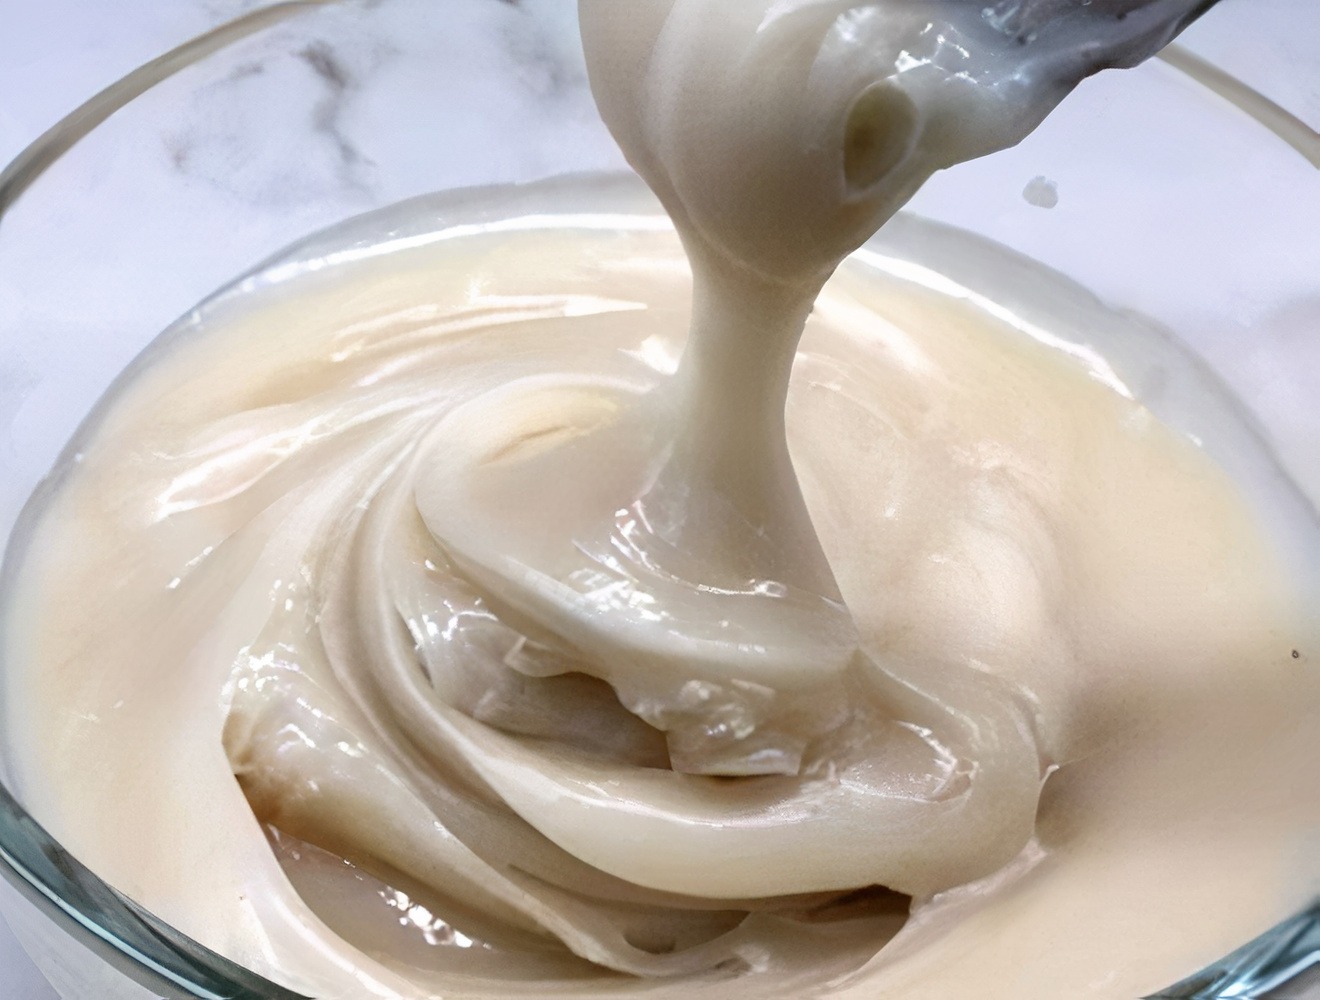
As a rule of thumb, the larger the pot, the quicker the milk will reduce. If it’s still liquid, it needs to cook longer. When its done, the volume will have reduced way down and the mixture will be thick and stick to the back of a spoon.
Don’t over-cook! If you cook the cream or milk too long (and/or turn the heat too high), it will turn golden and turn into caramel sauce. That’s definitely not the worst thing that can happen – just want you to be aware of it!
You can add any sweetener or flavour like vanilla extract at the end of cooking. Taste test to see if its sweet enough for you.
When ready place the condensed milk into a glass jar and let it cool to room temperature. As it cools, it will thicken further.
Once it has cooled fully, store it in the fridge.
So the next time you need to feed that sweet craving with sweetened condensed milk, go ahead and whip up a batch of this easy coconut condensed milk! You’ll be so glad you did!
If you are looking for more delicious, healthy, no bake desserts and treats to help you reach your health, wellness and fitness goals, you will love my collection here: Blended Bites