

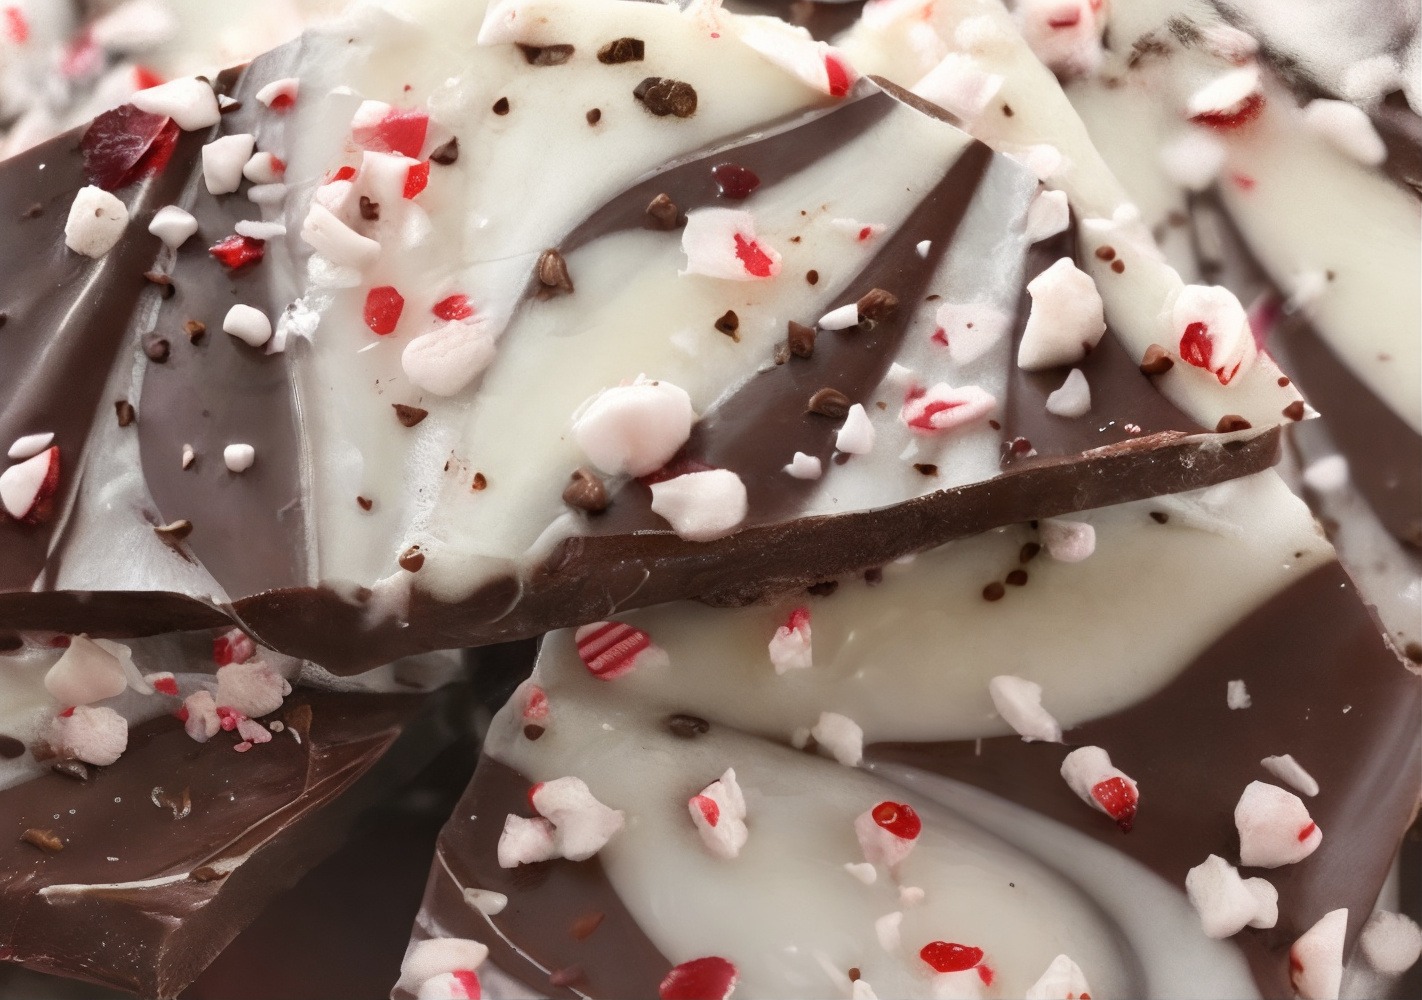

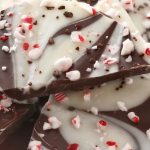
Swirled Chocolate Peppermint Bark
Peppermint Bark is delightful sweet candy treat at any time of year, but especially at Christmas. Some say the marriage of peppermint and chocolate is what Christmas tastes like. I discovered that the exact origins of peppermint bark are unknown. However, it has been tracked as far back as the 1960s to a store in Florida selling it. More recently peppermint bark has become a serious holiday tradition.Peppermint Bark is the easiest sweet treat! Semi-sweet and white chocolate are flavored with a hint of peppermint, beautifully swirled together, and topped with a flurry of crushed candy cane pieces.We may wonder why its called bark. It seems its because once the chocolate has cooled, it resembles the craggy surface of a tree before it's cut up or broken into smaller pieces. This recipe is no bake, requires just 4 simple ingredients, and makes the perfect edible gift or addition to any cookie plate. You just need a little patience while each layer sets up and then you have got a festive treat to enjoy…and share!Homemade peppermint bark is even more delicious than store bought varieties and is a delightful treat to give as gifts for the holidays. It comes out looking like you purchased it from a trendy candy shop. Simply package it up in some cute wrapping and you’re good to go. It sets in an hour, so your holiday treat will be ready for tasting and gift-giving in a snap! If you love the idea of giving peppermint bark to friends, family and neighbors as gifts, but want to make it at home – this peppermint bark recipe is for you!
Ingredients
- 2 cups semi-sweet, milk or dark chocolate chips
- 2 cups white chocolate chips
- 2 tablespoons coconut oil or butter, divided
- 1 teaspoon peppermint extract divided
- 6 large candy canes, or 18 mini candy canes
Instructions
- Line a 13 x 9-inch baking dish with aluminium foil, allowing a slight overhang on each side. Or use a silicone baking mat (do not cover the entire baking mat with chocolate – it should be about ½ inch thick).Place candy canes in a resealable plastic bag. Seal the bag, making sure to press out all the air. Use a rolling pin to gently pound the candy into small pieces. Do your best not to pulverize the candy; small pieces look prettier on the bark (you should have around ½-1 cup pieces).In a medium bowl, heat the semi-sweet dark chocolate chips in microwave at 50% power in 30 second bursts until mostly melted, 2 to 3 minutes. Add ½ teaspoon peppermint extract and 1 tablespoon coconut oil or butter and stir until smooth and combined.In a second medium bowl,repeat with white chocolate chips. Note that the chips may not appear melted after the full cooking time in the microwave, but when you stir them, you will find that they're very soft and will melt quickly once stirred. Add the second ½ teaspoon of peppermint extract and 1 tablespoon coconut oil or butter and stir until fully combined.Or use double boiler method to melt the chocolate chips - (pot of boiling water with a bowl resting on top) melt the chocolate chips and the coconut oil together.Pro Tip: When working with chocolate, be sure your bowls and utensils are completely dry. Water is the enemy of melted chocolate and will cause it to seize up.Use a rubber spatula to scrape the melted semi-sweet dark chocolate into the prepared baking dish and smooth the top, making sure to get all the way to the corners of the dish.Drizzle the melted white chocolate in ribbons over the entire semi-sweet dark chocolate layer.Drag the tip of a butter knife through the chocolate to create swirls, lifting the semi-sweet dark chocolate over the white chocolate to create nice marbling. Be careful not to swirl too much – less is more here! Don't worry if the surface doesn't appear flat.Sprinkle the pounded candy evenly over the chocolate. Tap the pan firmly against the counter three or four times to level the chocolate (this also helps the candy sink into the chocolate and adhere). Refrigerate until firm,about 45 minutes.Remove the pan from the refrigerator. Use the foil overhang to lift the bark out of the pan and transfer to a cutting board. Peel off the foil. Using a sharp chef's knife, cut the bark into pieces.Store the bark in a covered container at cool room temperature, or in the refrigerator, for up to 1week. If refrigerated, let the bark come to room temperature before serving. Do not freeze.
If you are looking for more delicious, healthy, no bake desserts and treats to help you reach your health, wellness and fitness goals, you will love my collection here: Blended Bites