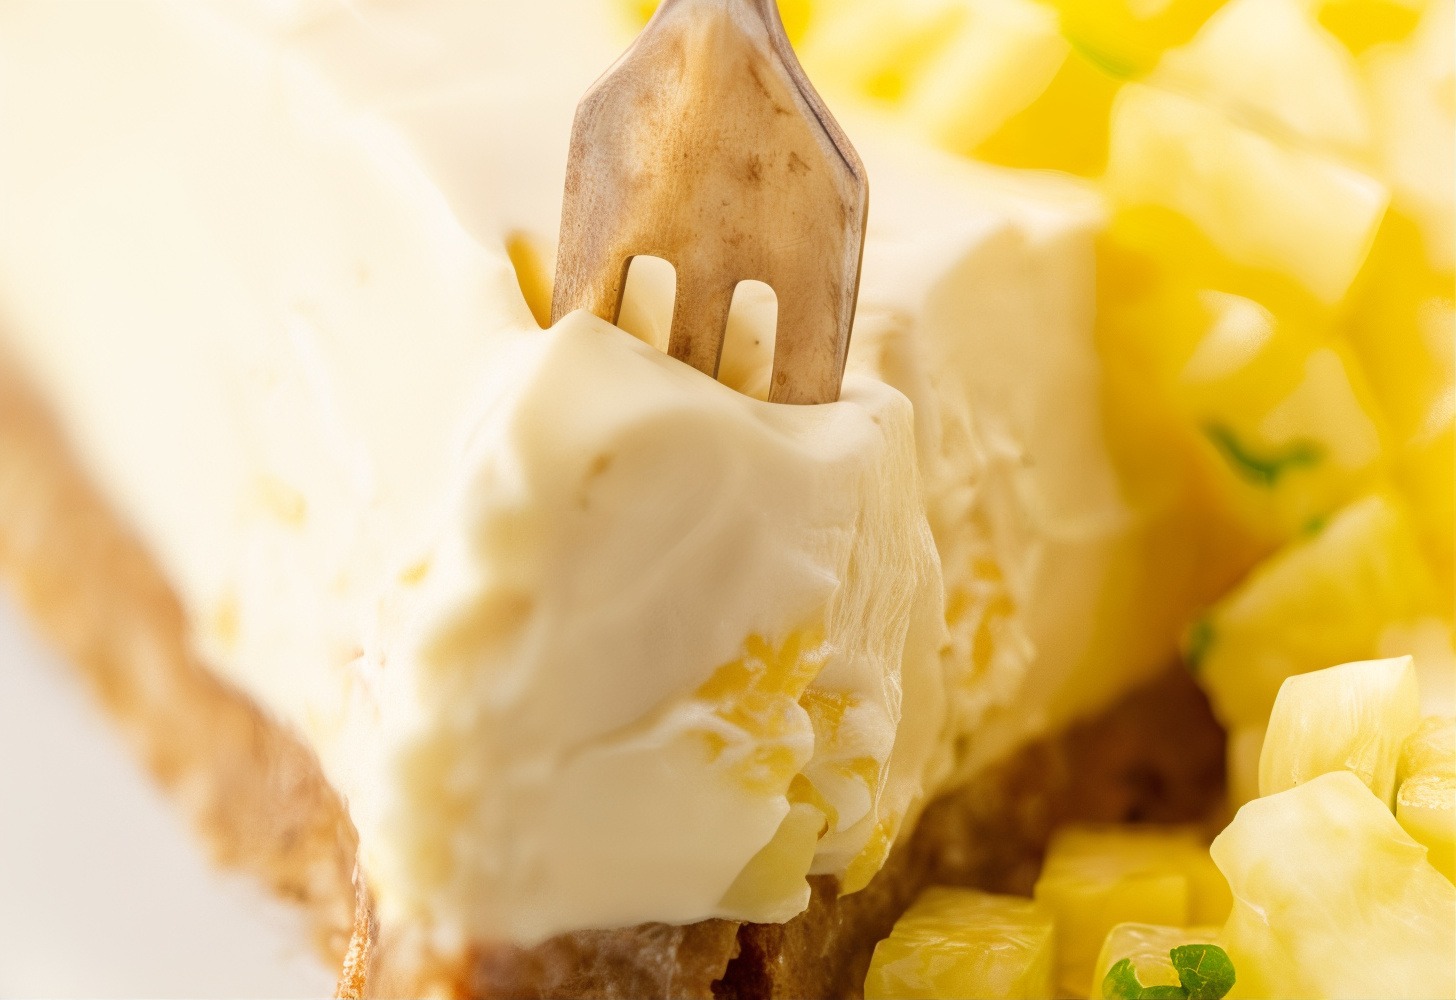
Pineapple Coconut Dream Slice
Pineapple and coconut are two of my favourite flavour combinations, this no bake refreshing, but oh-so-moreish pineapple and coconut slice is full of delightful tropical flavour with a hint of zesty lime.The bottom layer is tasty with nuts, coconut and dates to sweeten. The top layer is rich, delicious, creamy vanilla, cashew, coconut cream and pineapple. Show stopping, pretty and perfect, a recipe complete with two healthy layers of deliciousness. Get set to experience the timeless magic of a classic that's about to redefine your dessert expectations.This ‘healthified’ dessert slice contains only wholesome ingredients. It is full of creamy tropical goodness without any refined baddies! This means no white processed flour, sugar, butter, condensed milk, cream cheese or artificial food coloring or flavours.This is hands down the best slice I ever made! I am not kidding. I have made many amazing desserts like brownies, cakes,cheesecakes and so on, but this one is so special. It’s rich, moist, soft, creamy,lush, and super delicious!The protein and healthy fat content from the nuts and coconut ensures that this slice not only tastes good, but you won't need to be reaching for another one as it is pretty darn filling!With its crunchy, nutty crust and its top layers with juicy chunks of pineapple, this dessert is a slice of sunshine on a plate.Whether you are planning a summer barbecue or just craving a sweet escape, this recipe is one of the easiest ever! Luxurious, creamy, sweet and seriously amazing. It delivers the classic after-dinner treat you are craving but in a satisfying yet nutrition-packed treat. A delight for the eyes as as well as your taste buds, it is sure to be a crowd pleaser.
Ingredients
Base Crust
- 1 cup walnuts, or almonds or a mix
- 1 cup desiccated coconut
- 1 cup dates, soaked 30 minutes and drained
- 1 teaspoon vanilla extract
Creamy Pineapple Layer
- 1 1/2 cups cashews, soaked 3+ hours and drained
- 1 13.5 oz can coconut cream, full fat (solid part only) *see note below
- 1 1/2 cups pineapple, fresh or canned, roughly chopped
- 1/4 cup coconut oil, melted
- 1/4 cup honey or maple syrup
- 1 lime, juice and zest
Toppings
- Shredded coconut
- Diced pineapple chunks
- Almond slices
Instructions
Base Crust
- Note: Place the can of coconut cream or milk in the fridge or freezer for at least 1-2 hours before making these bars to allow coconut cream to separate.Line an 8 x 8” baking pan or dish with parchment paper on the bottom and sides leaving some overhanging to act as a handle to get the bars out easier for cutting. Or use a silicon loaf or baking pan.Place walnuts and coconut into a food processer and process until broken down and crumbly. Add dates and vanilla and continue to process until mixture is sticky and well combined. Be careful not to over process as its nice to have texture and different sized “bits” in your slice base.Press the base mixture into the bottom of your pan or dish evenly and place in fridge while you prepare the filling.
Creamy Pineapple Layer
- Open chilled can and scoop out the cream that has separated and set hard on the top. Save the remaining coconut water to use in a smoothie, drink, or discard.Place cashews, coconut cream, coconut oil, honey and lime juice and zest into the food processor and process until smooth and creamy. Depending on the power of your blender this might take a few minutes. Stop blending to scrape the sides and continue to blend until very smooth. Lastly add the pineapple chunks and pulse a few times to combine. You want to keep some chunks of pineapple to add interest to the creamy filling. Taste test add more honey or lime if you think it needs it.Pour the filling over the chilled crust and spread evenly with a spatula or the back of a spoon, then place back in the refrigerator.Remove slice from freezer and top with chosen toppings. Allow the slice to sit at room temperature for 5 minutes before slicing with a sharp knife into 16 slices or more smaller squares. Store in an airtight container in fridge for up to 4 days, can also be frozen and taken out as required.
If you are looking for more delicious, healthy, no bake desserts and treats to help you reach your health, wellness and fitness goals, you will love my collection here: Blended Bites