
Healthier Banoffee Slice
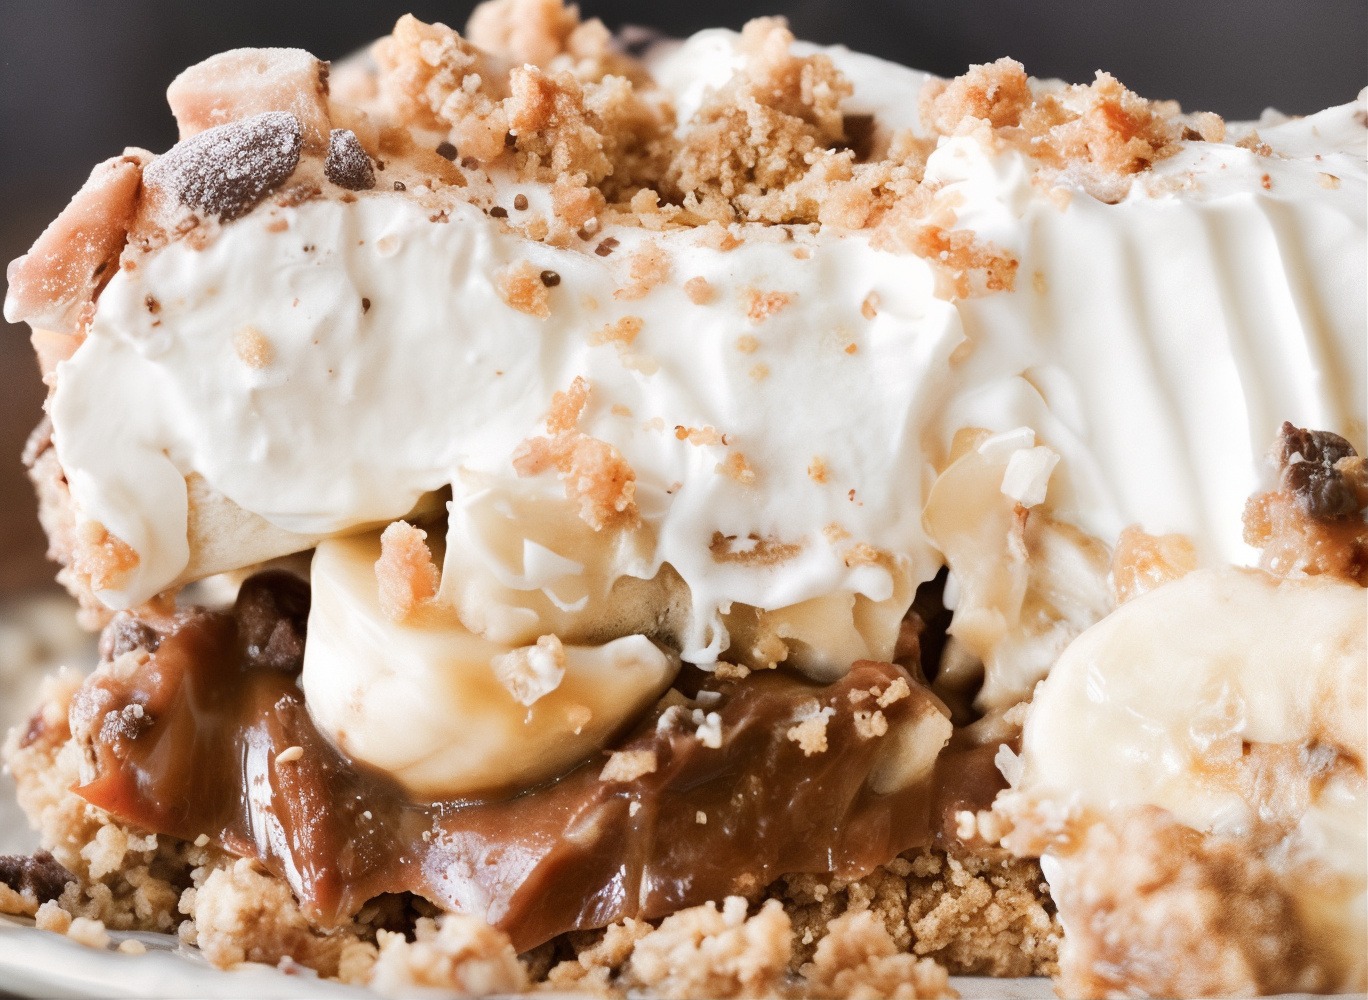
Banoffee Pie has got to be the best pie flavor known to man. Crumbly biscuit-y base, rich caramel centre topped with sliced banana and fresh cream…what’s not to like? No one can resist a good slice of banoffee pie!Sounds nom-nom-nom yummy, yes? Well, it does until you calculate the calorie count at least. Off the charts calories, fat, sugar and unhealthy ingredients.The first thing I thought of was how to make a healthy version of banoffee pie…as this classic pie was in desperate need of a healthy makeover. So, I have been on a mission to make the pie without sweet biscuits, butter, loads of sugar, sweetened condensed milk, heavy cream, corn syrup, etc. Despite how challenging that sounded, I couldn’t wait to make my own version and have such a delicious pie in my very own fridge.So yep here we have a healthy banoffee pie! This ‘healthified’ banoffee pie recipe is my take on the classic British dessert. Made with better for you ingredients, super easy to make, delicious, and pretty too. This tastes way too good to believe it’s healthy, but it is! It’s gluten-free (obviously), free from refined sugars, full of good fats, has a good amount of fibre and is high in protein!This banoffee pie is insanely delicious! This is the pie that you make when you want to please EVERYONE. All natural ingredients and no nasties. In fact if you want to keep its extreme dietary friendliness to yourself you can do that too! No one will ever know. It’s as rich and decadent as a dessert can be.This recipe is actually just 6-ingredients. Can you believe it? The crust is almonds and dates, the caramel filling is dates, coconut cream and almond butter and topping is whipped coconut cream. Basically, I just love Banoffee Pie and kinda just want to eat it on a more regular basis. This is my extremely simple and tasty solution. Seriously try it out and see what I mean, it’s well worth it… Healthier Banoffee Pie - HELL YES!
Servings 12
Ingredients
Base Crust
- 2 cups almonds, walnuts, pecans or a mix
- 1 cup dates, soaked 30 minutes and drained
- 1/2 cup oats, instant or quick
- 2 tablespoons coconut oil
Caramel Layer
- 2 cups dates, soaked 30 minutes and drained
- 1 cup canned coconut cream
- 1/4 cup almond (or any other nut) butter
- 2 teaspoons vanilla extract
Banana Layer
- 3 medium bananas, sliced
- 1 tablespoon lemon juice
Whipped Coconut Cream
- 1 13.5 oz can coconut cream, full fat (solid part only) *see note below
Decoration
- chocolate shavings
Instructions
Base Crust
- Note: Place the can of coconut cream in the fridge or freezer for at least 1-2 hours before making this slice to allow coconut cream to separate.Make the crust first. Line an 8 x 8” baking pan or dish with parchment paper on the bottom and sides leaving some overhanging to act as a handle to get the slice out easier for cutting.Place almonds into a food processer and process until broken down and crumbly. Add dates, oats and coconut oil and continue to process until mixture is sticky and well combined. Be careful not to over process as its nice to have texture and different sized “bits” in your slice base.Press the base mixture into the bottom of your pan or dish evenly. Refrigerate while you prepare the filling.
Caramel Layer
- To make the date caramel a bit easier, first microwave your dates for 30 seconds, this will soften them up and make them easier to process. You can skip this step but it will just take a little longer.Add the dates to the food processor and process. It will first form a giant ball of toffee and then will gradually break up and stick to the sides of the food processor. Keep processing, until the giant ball is mostly broken up.Heat the coconut cream in the microwave for 30 seconds and then add it to the food processor gradually while the food processor is running. If you don't need the full cup,then don't use it all. You are going for a very creamy date caramel texture here. Thick is good, but you want it to be smooth and creamy.Add in the almond butter and process until well mixed in.Spread the caramel filling over the top of the crust and smooth it down.Return it to the freezer while you prepare the topping.
Banana Layer And Whipped Coconut Cream
- Open chilled can and scoop out the cream that has separated and set hard on the top. Save the remaining coconut water to use in a smoothie, drink, or discard.Scoop out only this firm cream section into the bowl of your stand mixer. Start at slow speed and then gradually increase speed until it reaches a whipped cream consistency.Taste test, the coconut cream has a nice flavour but if you wish to add a natural sweetener or a dash or vanilla extract, feel free.Slice the bananas and then lightly brush them with the lemon juice (avoids discoloration).Spread a layer of sliced banana on top of the caramel layer.Spread the whipped cream on top, add the rest of the sliced banana and finish off with chocolate shavings.Storing: Best served the day it’s made, since it uses fresh fruit. However, leftovers can be enjoyed for 2-3 days, just use your best judgement. It’s not suitable for freezing.
If you are looking for more delicious, healthy, no bake desserts and treats to help you reach your health, wellness and fitness goals, you will love my collection here: Blended Bites