The inspiration to make this recipe came from the classic chocolate bar – Bounty Bar. The goal was to create a healthier version made with wholefood ingredients free from additives and preservatives.
So, here it is, another ‘healthified’ recipe for you. This Coconut Candy Bounty Slice is my version of an ‘old fashioned’ classic candy bar.
The Coconut Candy Bar story starts in 1919 when a man called Peter Halajian sold his homemade sweets door-to-door. During WWII, a shortage of coconut and sugar caused Peter to discontinue other products to focus on Mounds Candy Bars.
It wasn’t until 1948 when consumer demand for chocolate led to the creation of Almond Joy Candy Bars and Mounds Bars. The Bounty Bar was invented in 1951 by Mars Company.
Coconut Bounty Bars, oh how I love you but it was time to have a ‘healthified’ version. And what a joy it is to have created an authentic healthy bar that tastes just like the original, but made with wholesome ingredients and doesn’t require any baking.
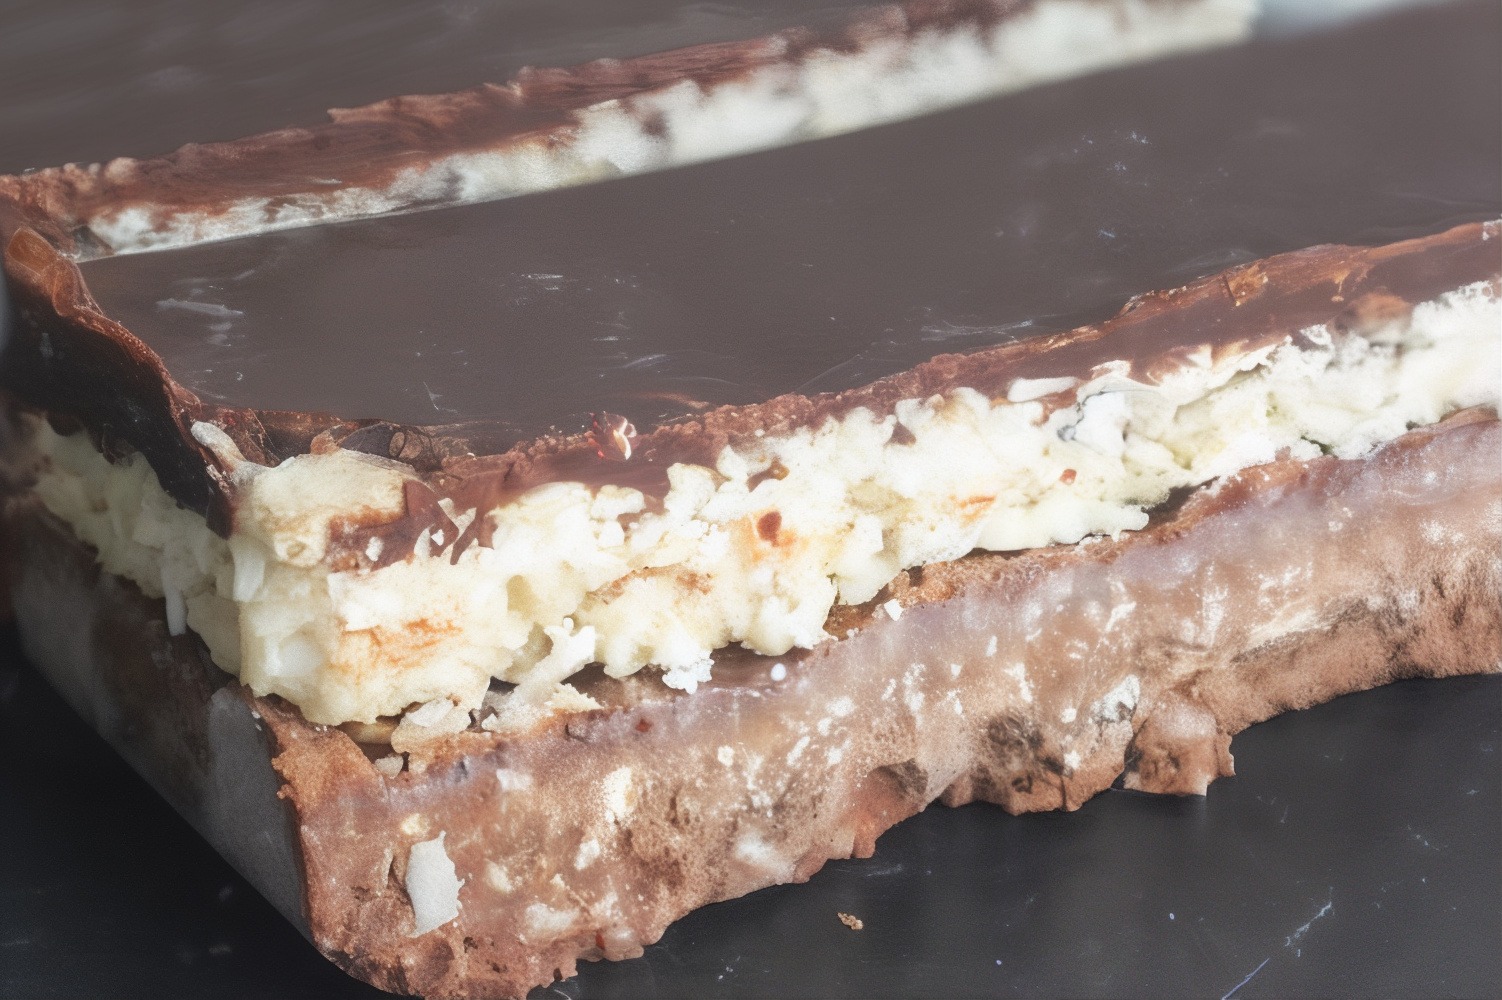
This new beautiful Bounty Slice recipe is made with layers of an almond-date-crust, topped with a silky smooth, cashew, vanilla, coconut cream filling and finished with a layer of decadent rich chocolatey goodness!
The idea was to improve the macro balance (protein, carbohydrate, healthy fats). This is not about calorie counting: It’s about paying attention to key nutrients and taking in the daily recommended portion your body needs to maintain your energy levels and overall wellbeing.
This recipe is a much higher protein and healthier Coconut Candy bar. When you find your optimal balance and amounts of macro nutrients, you take a major step toward reaching your health goals and this balance has been improved in this recipe by the addition of healthy protein in the form of protein powder, nuts and coconut in three different forms.
The results are amazing. This is one of the best dessert/sweet treat recipes I have made in a long time!
As a comparison here is an ingredient list in a regular Bounty Bar: Sugar, Desiccated Coconut (21%), Glucose Syrup, Cocoa Butter, Cocoa Mass, Skimmed Milk Powder, Emulsifiers (Soya Lecithin, E471), Lactose, Milk Fat, Whey Powder (from Milk), Humectant (Glycerol), Salt, Natural Vanilla Extract, Milk Chocolate contains Milk Solids 14% minimum.
Ingredient list of this ‘healthified’ Candy Bar recipe: Almonds, Dates, Desiccated Coconut, Cocoa Powder, Cashews, Coconut Cream, Coconut Oil, Honey, Vanilla Extract, Chocolate Chips
A HUGE difference I think you will agree. I’ve ditched the huge amount of sugar in two different forms (including glucose syrup) and the other nasty looking ingredients (additives and preservatives). And…you guessed it, I’m adding the almonds, cashews, coconut, chocolate and vanilla for us, and sending the rest to food-heaven.
Now we have deliciously easy, low-carb bars made with a no-bake, chocolate almond layer topped with a creamy coconut layer and finished with a crunchy dark chocolate coating.
This chocolate coconut slice is the perfect treat to have that doesn’t make you feel guilty for eating it. It’s refined sugar-free, gluten-free, almost raw, made using whole foods and great to keep in the freezer for when you feel peckish or that sweet tooth craving hits!
These coconut bars are the ultimate chocolatey, nutty, any time snack or treat! With a taste similar to an almond joy, bounty or mounds bar, but with over 10g of protein and less than 4g of net carbs per serving, you are definitely going to want to try making this recipe ASAP!

Coconut Candy Bounty Slice
Ingredients
Base Crust
- 1 cup almonds or walnuts
- 1 cup dates, soaked 30 minutes and drained
- 1 cup desiccated coconut
- 1/2 cup rolled oats
- 1/4 cup cocoa powder
Coconut Cream Filling
- 1 cup cashews, soaked 3+hours and drained
- 1 13.5 oz can coconut cream, full fat (solid part only) *see note below
- 2 cups desiccated coconut
- 1/4 cup protein or collagen powder
- 1/4 cup coconut oil, melted
- 1/4 cup honey or maple syrup
- 1 teaspoon vanilla extract
Chocolate Topping
- 1 cup chocolate chips
- 1 tablespoon coconut oil
Instructions
Base Crust
- Note: Place the can of coconut cream or milk in the fridge or freezer for at least 1-2 hours before making these bars to allow coconut cream to separate.Line a 7 x 5-inch loaf pan or dish with parchment paper on the bottom and sides leaving some overhanging to act as a handle to get the bars out easier for cutting.Place all base crust ingredients into a food processer and process until broken down, crumbly and well combined. Be careful not to over process as its nice to have texture and different sized “bits” in your base crust.Press the base mixture into the bottom of your pan or dish evenly. Refrigerate while you prepare the filling.
Coconut Cream Filling
- Open chilled can and scoop out the cream that has separated and set hard on the top. Save the remaining coconut water to use in a smoothie, drink, or discard.Place all filling ingredients, cashews, coconut cream, coconut oil, honey and vanilla extract into the food processor and process until smooth and creamy. Depending on the power of your blender this might take a few minutes. Stop blending to scrape the sides and continue to blend until very smooth. Taste test add more honey or vanilla if you think it needs it.Pour the filling over the chilled crust and spread evenly with a spatula or the back of a spoon, then place back in the refrigerator.
Chocolate Topping
- Place chocolate chips and coconut oil in small dish and microwave at 50% power with 30 second bursts stirring between each one until melted and smooth.Or use double boiler method - (pot of boiling water with a bowl resting on top) melt the chocolate chips and the coconut oil together.Once melted, pour over the coconut layer. Place back in the refrigerator at least an hour before slicing into bars and serving.Remove the bars and after checking they are firm and set, remove from pan using the parchment paper handles and cut into 10-12 bars or more smaller squares.Note that these slice best when really firm, you may want to freeze them before slicing, and then store in the fridge once sliced.Store in the fridge for up to 1 week or freezer up to three months.For a perfect creamy texture, remove from freezer 10-15 minutes before devouring.
If you are looking for more delicious, healthy, no bake desserts and treats to help you reach your health, wellness and fitness goals, you will love my collection here: Blended Bites


