Chocolate Lemon Cashew Squares
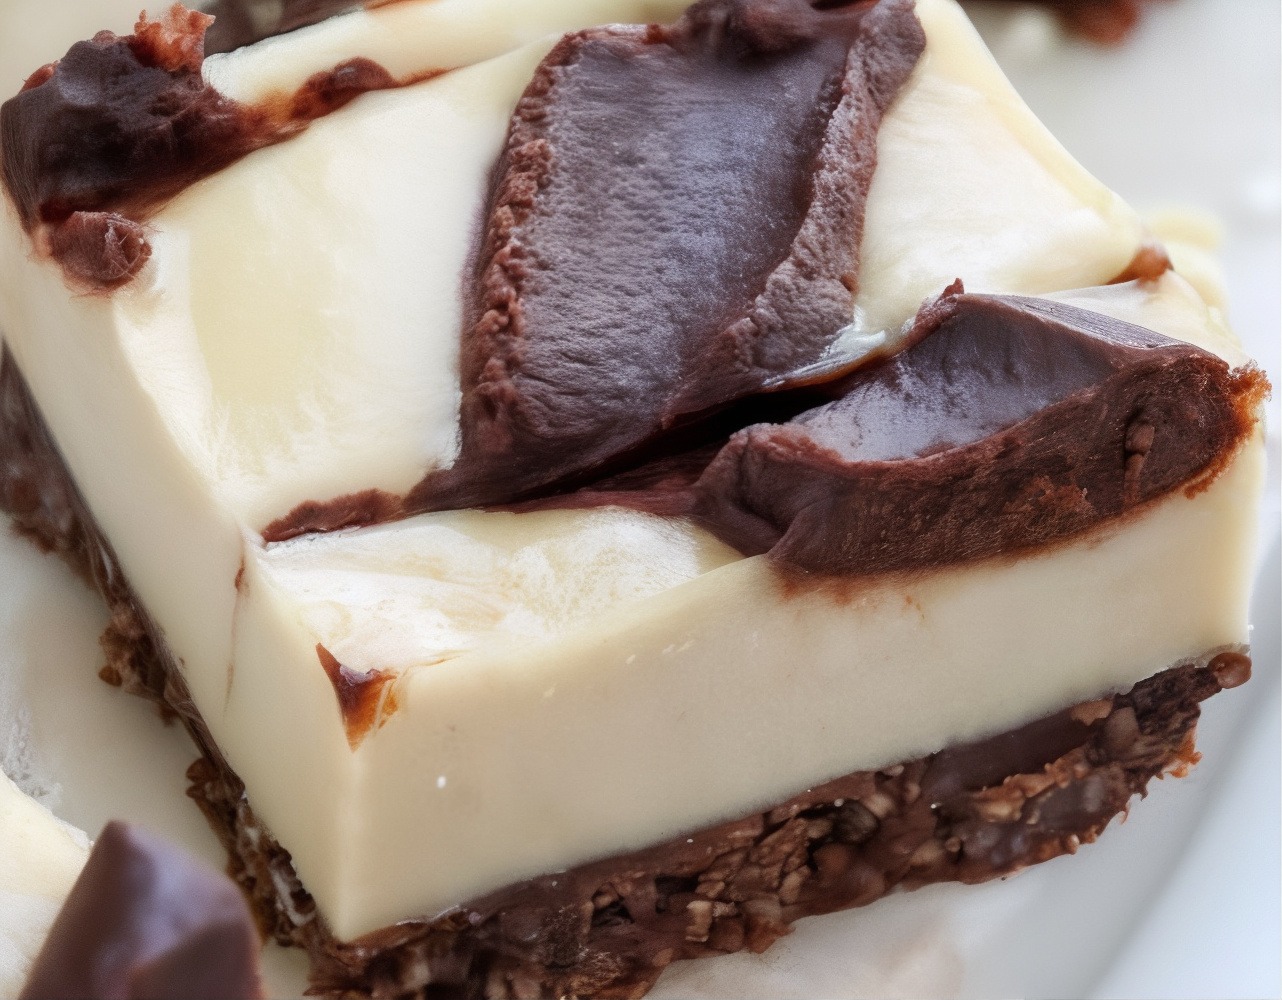
These cashew cheesecake squares are made with simple ingredients that you probably already have on hand. They look as impressive as they taste, and you will love that they are naturally sweetened.This no bake recipe is easy to make and bursting with flavor, using good-for-you ingredients. The perfect portion-controlled treat for an any time healthy snack or dessert! Or any time you're craving a little something sweet.!Creamy and delicious, this recipe is nothing like a regular cheesecake. Instead of using cream cheese and sugar, this is made with cashews, coconut cream and flavoured with lemon. It’s like a tropical holiday in your mouth! The cashews are soaked until they become plump and moist. They are then thrown in a blender with coconut cream to form the irresistible filling for the slice. It makes me excited that such a beautiful and delicious creation can be made purely from natural ingredients.I love that you don’t have to use your oven, and they are just the right size to satisfy a sweet tooth without over indulging. Creamy, slightly tart, perfectly sweet, and 100% irresistible. Better than real cheesecake and the perfect healthy, simple dessert to feed a crowd (or just you).A cross between a cupcake and cheesecake and these squares make a delicious handheld, four bite, sweet treat for parties, brunch, pot lucks, family gatherings and are a real crowd pleaser. They are as cute as they are delicious. Individual little cheesecake squares with a classic chocolate cookie nutty base and a rich creamy and silky cashew based centre topped with a chocolate drizzle swirl.They are sure to be a hit and you will be asked for the recipe.
Servings 16
Ingredients
Chocolate Base Crust
- 1 1/2 cups almonds, walnuts or pecan halves
- 1 cup dates, soaked 30 minutes and drained
- 1/4 cup cocoa powder
- 1/4 cup coconut oil, melted
Lemon Filling
- 2 cuos cashews, soaked 3+ hours and drained
- 1 13.5 oz coconut cream, full fat (solid part only) *see note below
- 1/4 cup coconut oil, melted
- 1/4 cup honey or maple syrup
- 2-3 lemons, juice and zest (depending on how lemon-ey you like it)
Chocolate Swirl Topping
- 1 cup chocolate chips
- 1 tablespoon coconut oil
Instructions
Chocolate Base Crust
- Note: Place the can of coconut cream in the fridge or freezer for at least 1-2 hours before making these bars to allow coconut cream to separate.Line an 8 x 8” baking pan or dish with parchment paper on the bottom and sides leaving some overhanging to act as a handle to get the bars out easier for cutting.Place almonds into a food processer and process until broken down and crumbly. Add dates, cocoa powder and coconut oil and continue to process until mixture is sticky and well combined. Be careful not to over process as its nice to have texture and different sized “bits” in your squares base crust.Press the base mixture into the bottom of your pan or dish evenly. Place in freezer while you prepare the filling.
Lemon Filling
- Open chilled can and scoop out the cream that has separated and set hard on the top. Save the remaining coconut water to use in a smoothie, drink, or discard.Place all filling ingredients, cashews, coconut cream, coconut oil, honey, lemon juice and zest into the food processor and process until smooth and creamy. Depending on the power of your blender this might take a few minutes. Stop blending to scrape the sides if necessary and continue to blend until very smooth. Taste test and add more honey or lemon if you think it needs it.Pour the filling over the chilled crust and spread evenly with a spatula or the back of a spoon, then place back in the refrigerator.
Chocolate Swirl Topping
- Place chocolate chips and coconut oil in small dish and microwave with 30 second bursts stirring between each one until melted and smooth.Or use double boiler method - (pot of boiling water with a bowl resting on top) melt the chocolate chips and the coconut oil together.Once melted use a spoon to drizzle the chocolate topping over the cheesecake layer in 4 lines. Drag a knife through the lines, back and forth, creating a swirled pattern. Move quickly, as the chocolate will harden and will be more difficult to swirl.Place the pan in the freezer until the cheesecake is firm to the touch in the center, about 4 to 6 hours. Slice into 16 small bars or squares, then serve chilled. They will soften if you let them stay on the counter too long, so be sure to keep these stored in an airtight container in the freezer for the best texture. They should keep well for up to 3 months.
If you are looking for more delicious, healthy, no bake desserts and treats to help you reach your health, wellness and fitness goals, you will love my collection here: Blended Bites


