
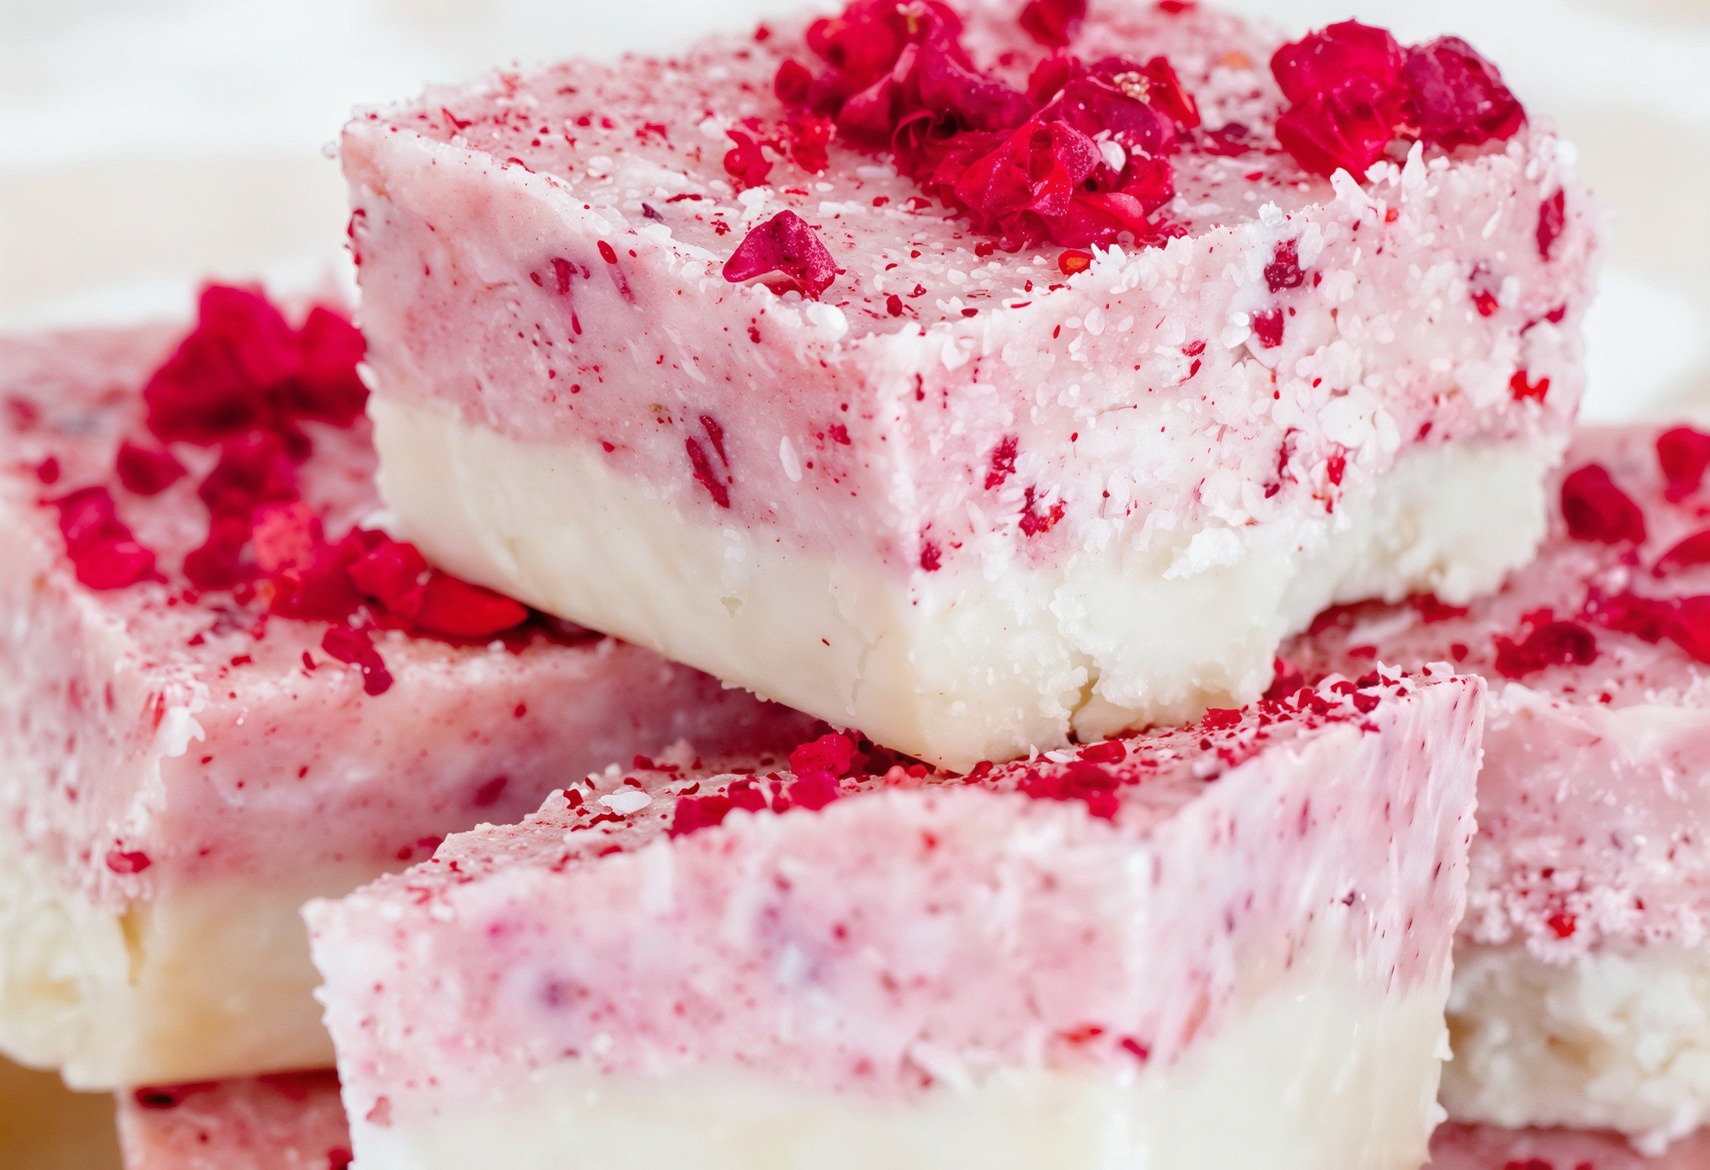
Pretty in pink, creamy, coconutty and packed with protein…
There is something wonderfully nostalgic about coconut ice. That sweet, creamy combination of coconut and vanilla takes you straight back to childhood – but this Healthy Protein Coconut Ice gives the classic treat a delicious Blended Bites makeover.
Instead of making one solid block of coconut ice, we are creating two beautiful layers: a creamy white coconut layer and a gorgeous pink raspberry layer. The pink colour comes naturally from freeze-dried raspberries, which also add a lovely fruity tang that balances the sweetness of the coconut.
And, of course, there is protein powder in the mix.
Because healthy treats should still be treats. We are simply adding more goodness rather than taking away the fun. The result is soft, creamy, slightly chewy coconut ice with a beautiful raspberry twist. It looks impressive enough for a special occasion but is incredibly easy to make.
And there is no baking involved.
Why You Will Love This Coconut Ice
Traditional coconut ice is delicious, but it tends to be very high in refined sugar. This version takes the same basic idea – sweet coconut goodness – and turns it into something more nourishing.
The base of the recipe uses desiccated coconut and coconut butter, which create that rich coconut flavour and wonderfully creamy texture. Coconut butter is particularly useful in no-bake recipes because it firms when chilled, helping the coconut layers hold their shape.
A little maple syrup provides sweetness, while vanilla brings out the creamy flavour.
Then comes the protein powder. Vanilla protein powder works beautifully here because it complements both the coconut and raspberry. It also adds a satisfying protein boost, making this coconut ice much more substantial than a traditional sweet treat.
And Then There Is The Raspberry Layer
The pink layer is where things get really fun. Rather than using artificial food colouring, we are using freeze-dried raspberries. They are intensely fruity and naturally vibrant, so just a small amount gives the coconut mixture a beautiful rosy pink colour.
They also add a delicious tartness.That slight raspberry tang cuts through the sweetness of the coconut and creates a flavour combination that is surprisingly addictive. You get creamy coconut first, followed by a bright burst of raspberry.
And visually? The two layers look gorgeous together.
A Simple No-Bake Treat
One of the best things about this recipe is how easy it is. There is no oven to preheat, no complicated cooking and no need for special equipment beyond a food processor or blender. Simply mix the ingredients for the white layer, press it into your pan, then add some freeze-dried raspberry powder to the remaining mixture to create the pink layer. Press the second layer on top, chill until firm and slice.
That’s it.
You can cut the coconut ice into traditional little squares, bars or even diamonds if you are serving them for a special occasion. And because this recipe keeps well in the refrigerator or freezer, it is perfect for making ahead.
A Treat That Fits The Blended Bites Philosophy
This is exactly what Addition Eating is about. We are not trying to make a treat disappear from your life. We are adding ingredients that nourish your body – coconut, raspberries and protein – while keeping the delicious flavours and textures that make treats enjoyable.
There is something very satisfying about opening the fridge and finding a little tray of homemade coconut ice waiting for you.
One square with a cup of tea.
A couple after a workout.
A little sweet bite when afternoon cravings arrive.
Healthy eating does not have to be restrictive or boring. Sometimes it can be pink, coconutty and completely delicious. 💗
I love that creative and refreshing recipes featuring coconut can make the most delicious, healthy, protein-rich snacks and treats. Here are some more tried-and-true coconut flavoured recipes:
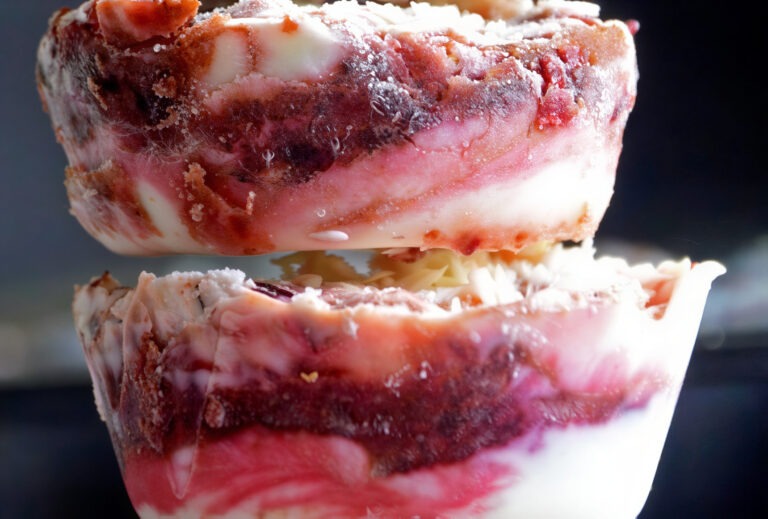
These Cherry Coconut Yogurt Protein Bites are creamy, fruity and wonderfully refreshing! Made with thick Greek yogurt, protein…
View Recipe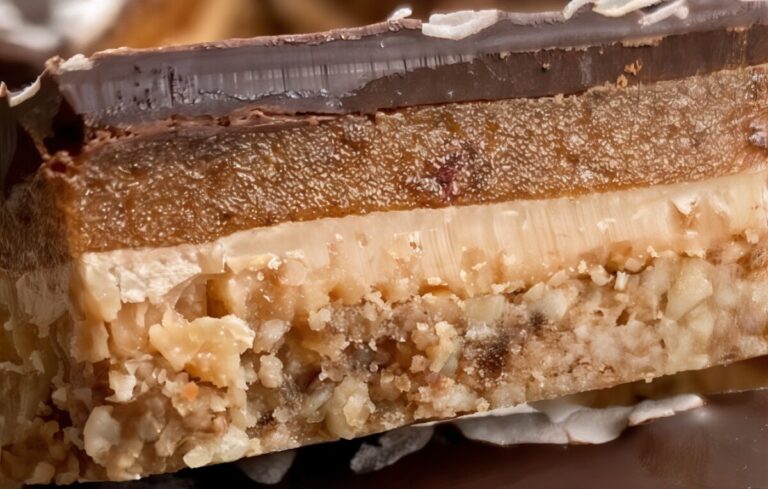
These Coconut Butter Caramel Protein Bites are a decadent four-layer no-bake treat made with a chewy nut and…
View Recipe
Soft, chewy no-bake protein bars made with rich cocoa, naturally sweet dates, creamy almond butter, and coconut. Packed…
View Recipe
Healthy Protein Coconut Ice
Ingredients
White Coconut Layer
- 1 cup desiccated coconut
- 1/2 cup coconut butter,softened
- 1 scoop vanilla protein powder
- 2 tablespoons maple syrup
- 1 teaspoon vanilla extract
- 1-2 tablespoons coconut milk, if needed
- Pinch of salt
Pink Raspberry Layer
- 1 cup desiccated coconut
- 1/2 cup coconut butter, softened
- 1 scoop vanilla protein powder
- 2 tablespoons maple syrup
- 2-3 tablespoons freeze-dried raspberry powder
- 1 teaspoon vanilla extract
- 1-2 tablespoons coconut milk, if needed
- Pinch of salt
Instructions
- Line a 7 x 5-inchl oaf pan or dish with parchment paper on the bottom and sides leaving some overhanging to act as a handle to get the bars out easier for cutting.
White Layer
- Add the desiccated coconut, coconut butter, protein powder, maple syrup, vanilla and salt to a food processor.Blend until the mixture comes together into a thick, slightly sticky mixture. Add a little coconut milk if needed.Press the white mixture firmly into the prepared pan. Smooth the surface with the back of a spoon or spatula.
Pink Layer
- Add the second quantity of coconut, coconut butter, protein powder, maple syrup, freeze-dried raspberry powder, vanilla and salt to the food processor.Blend until smooth and well combined. Add a little coconut milk if necessary.Taste and add a little extra raspberry powder if you would like a stronger raspberry flavour or deeper pink colour.Carefully press the pink mixture evenly over the white layer.Smooth the top and refrigerate for 2–3 hours, or until firm.Remove from the pan using the baking paper and cut into 12-16 small squares or bars or your preferred size.Store in an airtight container in the refrigerator for up to 1 week.For longer storage, freeze for up to 2 months. Allow to thaw for a few minutes before serving.
If you are looking for more delicious, healthy, protein-rich, no bake desserts and treats to help you reach your health, wellness and fitness goals, you will love my collection here: Blended Bites

