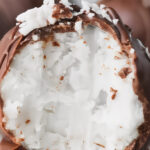
Coconut Protein Snack Balls
These sweet and fudgy coconut protein balls taste like dessert but are a healthy, protein-rich snack to keep you fueled with energy!
Servings 20
Ingredients
- 2 cups desiccated coconut
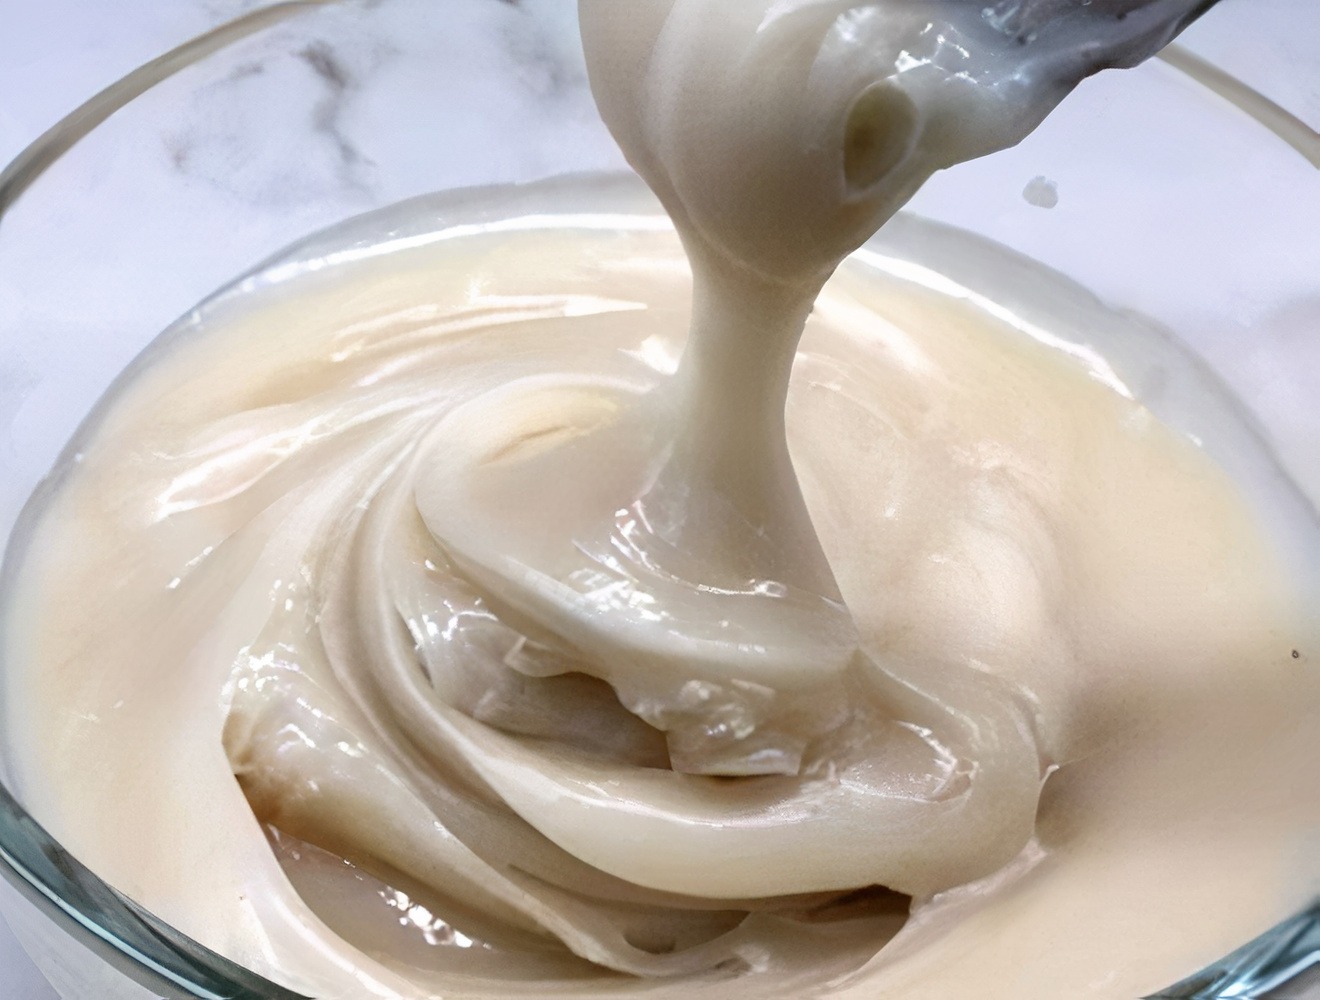
- 1 cup condensed milk – store bought or sugar free recipe below in notes
- 2 scoops protein or collagen powder
Chocolate Coating
- 1 cup chocolate chips
- 1 tablespoon coconut oil
Instructions
- If you are going to make your own homemade super free condensed milk, make it first so its ready when you wish to make the bliss balls (recipe below in notes).Pour your desiccated coconut into a bowl and mix with the condensed milk until it forms a thick mixture. I do this with my hands, but you can use a spoon or fork.Add the protein powder and mix until well combined.Form balls using around a tablespoon of the mixture. You can make them any size you want, but I recommend making them no more than 2-3 bites each, about the size of a golf ball.Put the balls on a lined baking sheet and leave in the fridge to firm up for 15-30 minutes. You can also freeze them for 5-10 minutes if you are in a hurry.While the coconut is cooling, melt the chocolate.
Chocolate Coating
- Place chocolate chips and coconut oil in small dish and microwave at 50% power with 20 second bursts stirring between each one until melted and smooth.Or use double boiler method - (pot of boiling water with a bowl resting on top) melt the chocolate chips and the coconut oil together.Dip the chilled balls into the melted chocolate. You can use a spoon, one or two forks, or wooden skewers (so they look more like little cake pops) to help you dip them. Make sure to get the coconut completely covered in chocolate.Place on a rack with a piece of parchment paper underneath to catch any drips. Let harden at room temperature, then transfer into the fridge to cool completely.Transfer to an air-tight container and leave in the fridge. They will keep for up to 2 weeks or in the freezer for up to 3 months.
Notes
Elevate your dessert game with my sugar free condensed milk recipe.
Avid bakers are all too familiar with sweetened condensed milk, but what about those of us who love to bake but need to cut out excess sugar?
There aren’t too many sugar-free varieties on the market, and the ones I’ve tried… miss the mark. So, I came up with a sugar-free version of classic condensed milk, and now I use it in everything!
There are some recipes that are just better with condensed milk (think fudge and ice cream!)
This is a super simple recipe that creates a delicious sugar free condensed milk, perfect for eating straight out the jar or in your favourite recipes!
Go here for the recipe: Sugar Free Homemade Condensed Coconut Milk